PTvis
Non-contact thermography with flash pulses
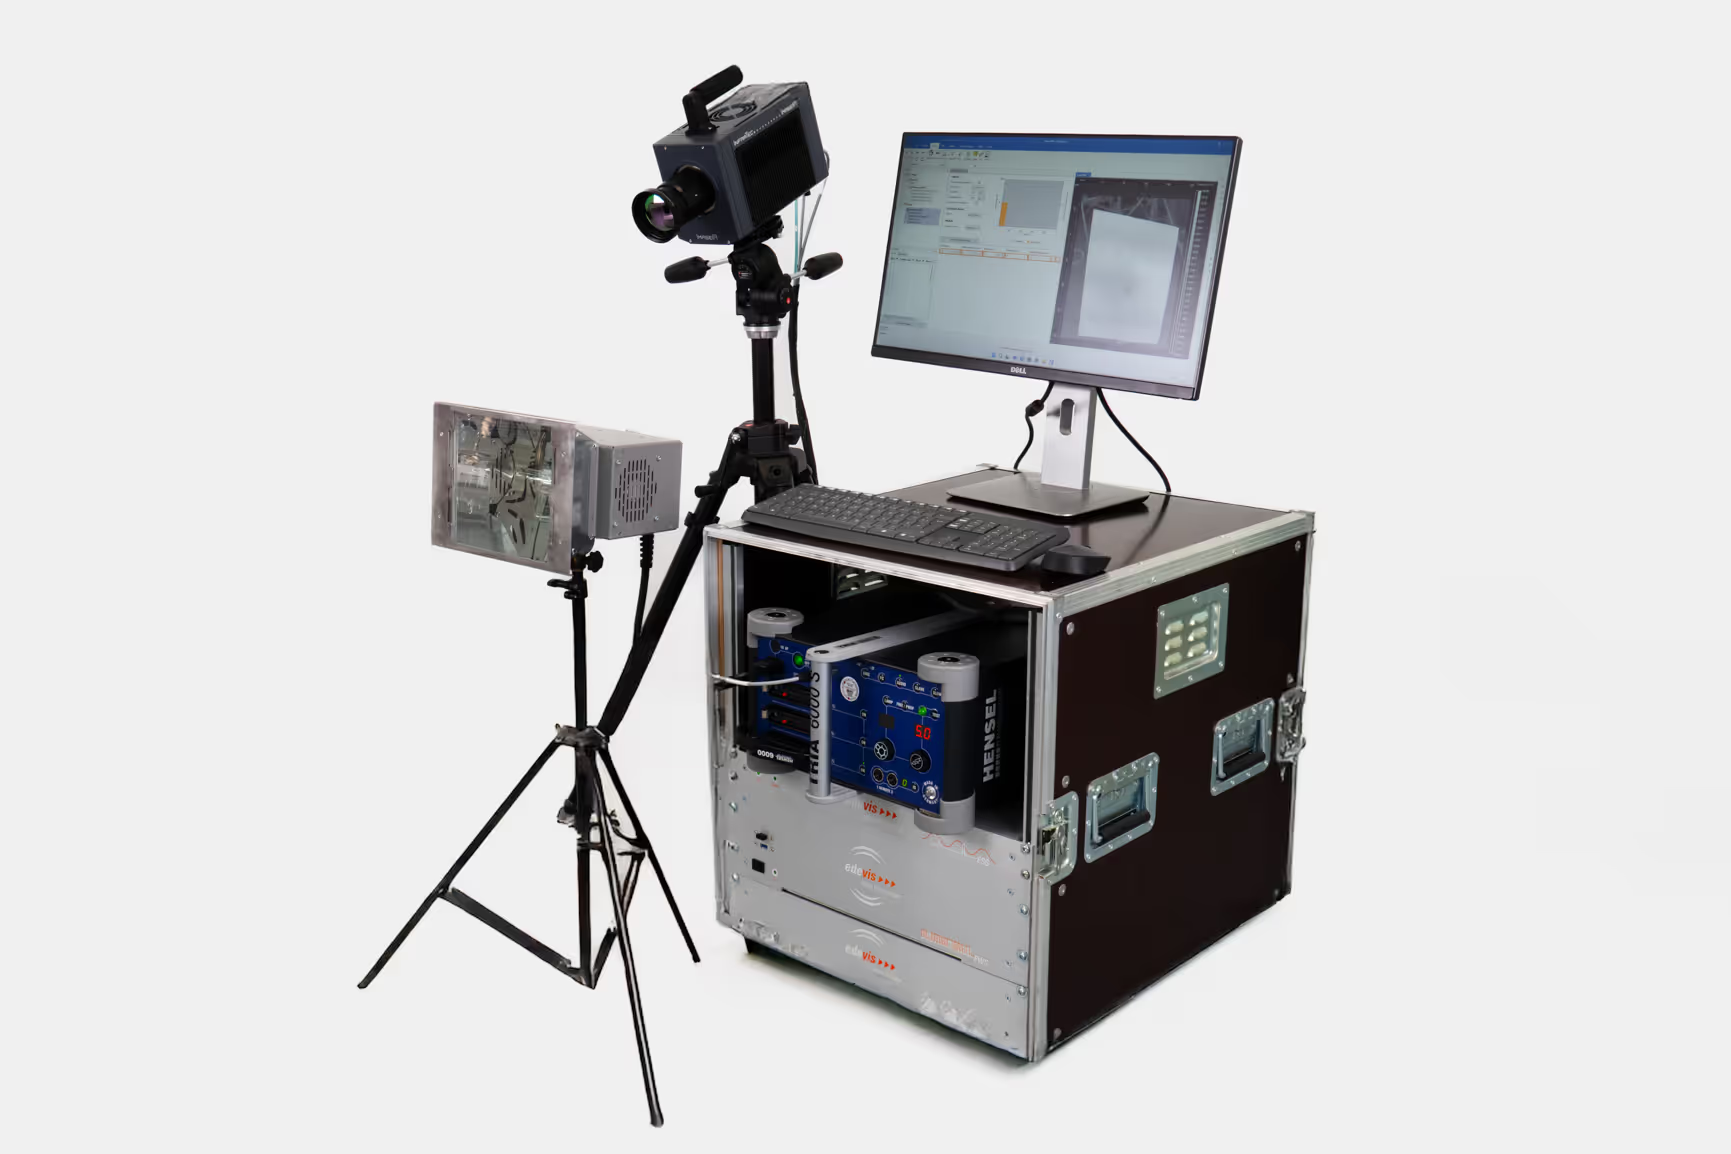
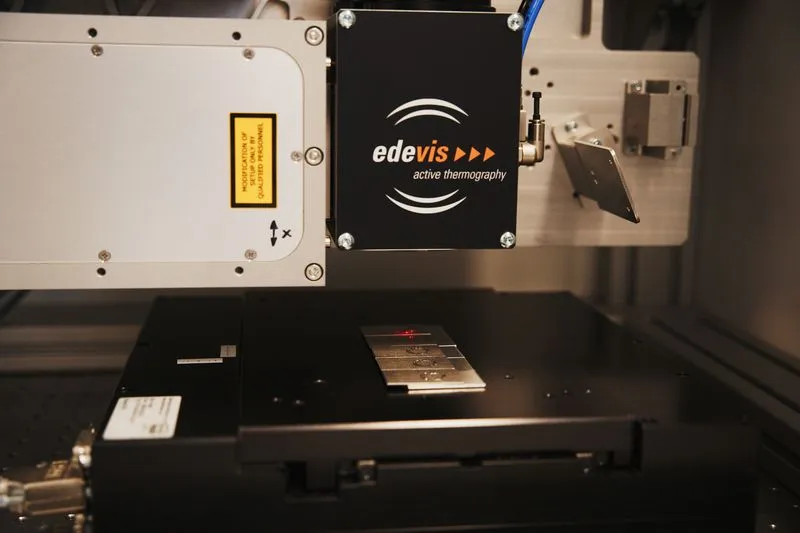
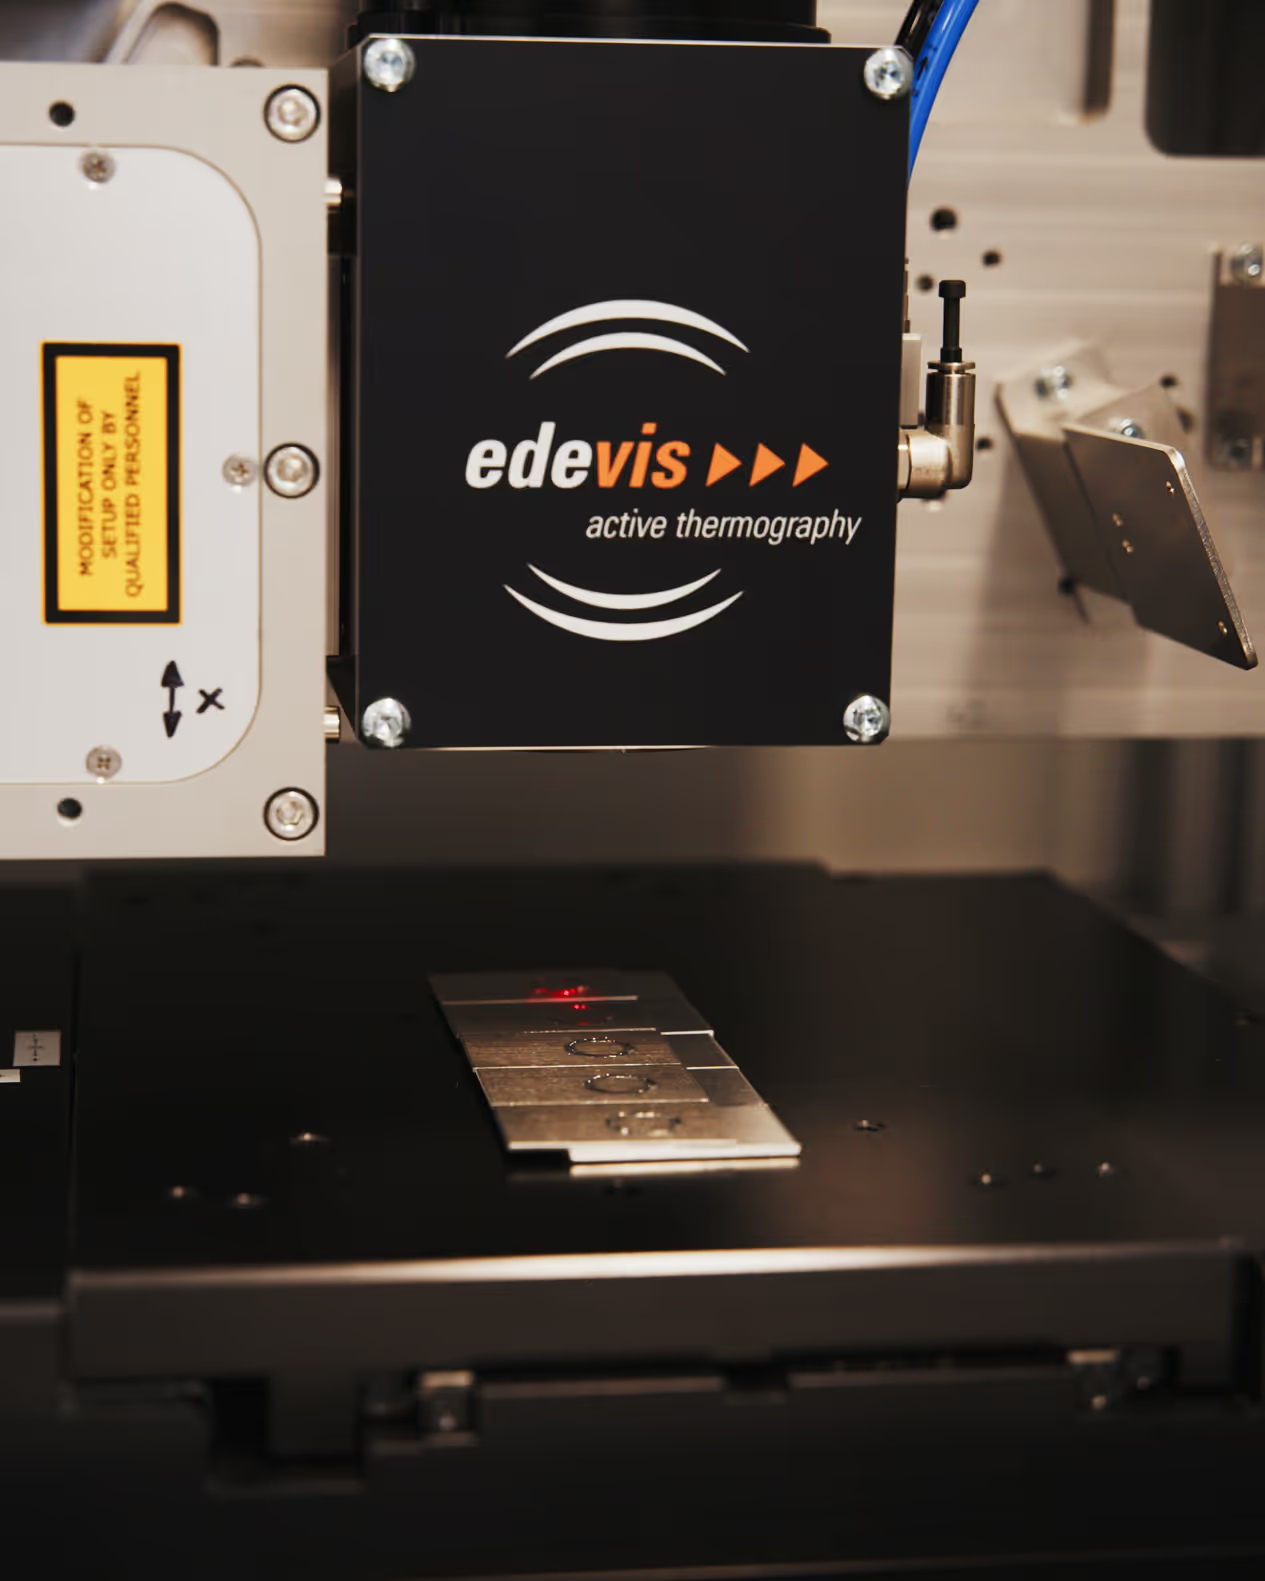
The PTvis system uses powerful flash lamps for short thermal excitations of thin layers. Fast IR camera images and a Fourier-based pulse-phase evaluation allow layer thicknesses, porosity, thermal conductivity and material defects to be precisely determined - ideal for paint testing, coatings and CFRP analyses

Applications
- Coating and paint thickness measurement
- Inspection for corrosion under coatings (e.g., filiform corrosion)
- Inspection of CFRP and other fiber-reinforced composites
- Bonding inspection of inserts
- Detection of delaminations, porosity, impacts
- Inspection of adhesive joints
- Non-destructive surface inspection
Advantages of PTvis
- Particularly suitable for crack detection in metals and composite materials
- Non-contact, defect-selective inspection method
- High penetration depth combined with high resolution
- Phase analysis reduces surface artifacts
- Applicable even on rough surfaces or complex geometries
- Automatable and suitable for inline integration
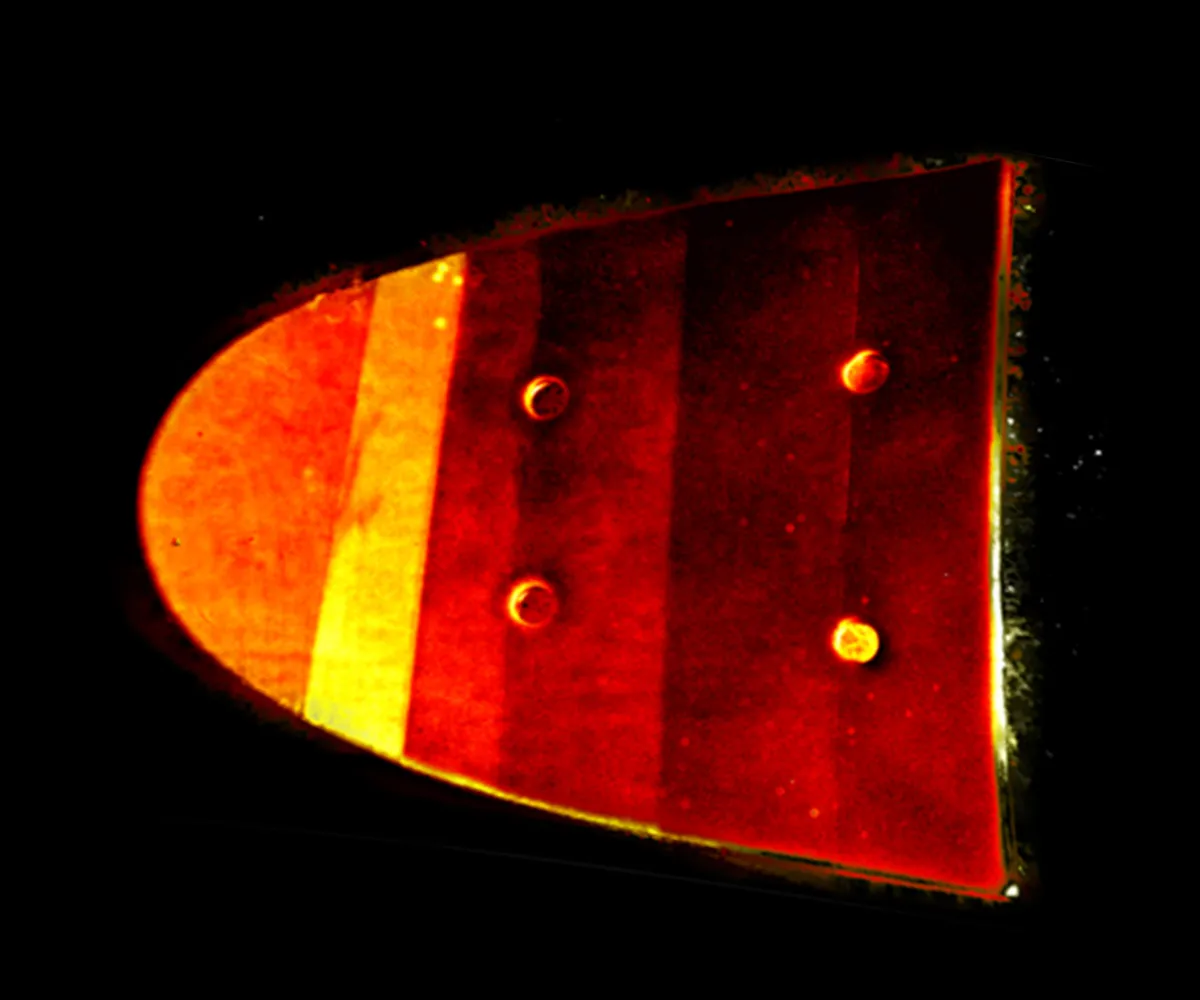
How does inspection with PTvis work?
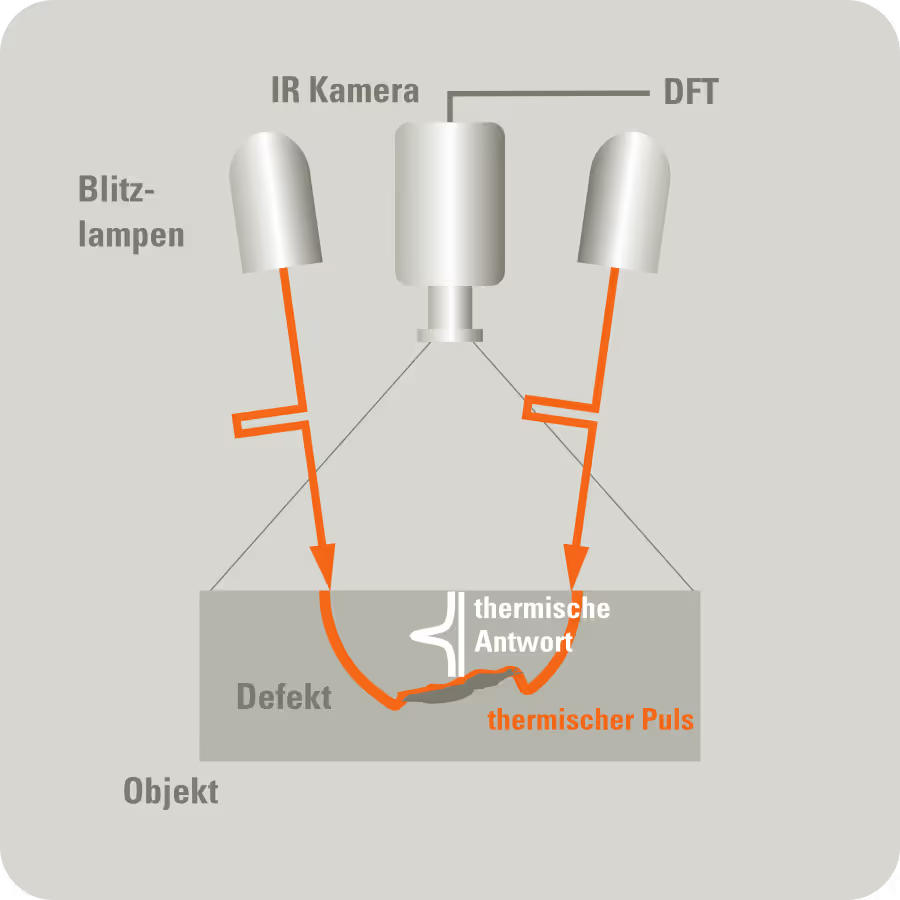
Typical procedure of a PTvis inspection
1. Excitation by flash light
2. Heat flow within the material
3. Detection using an infrared camera
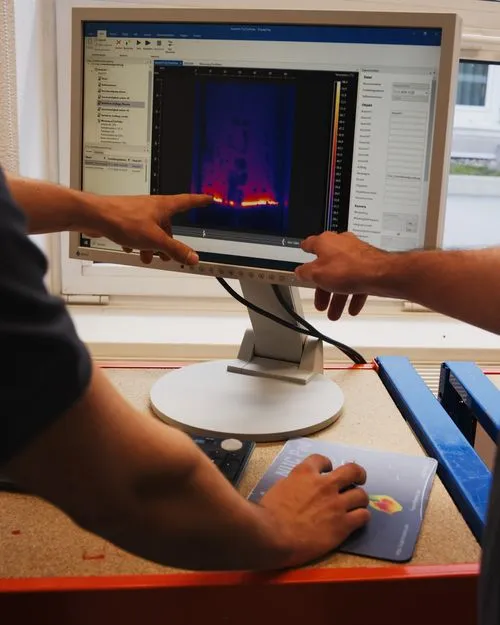
4. Software-assisted analysis
Modular system
- PTvis flash generator
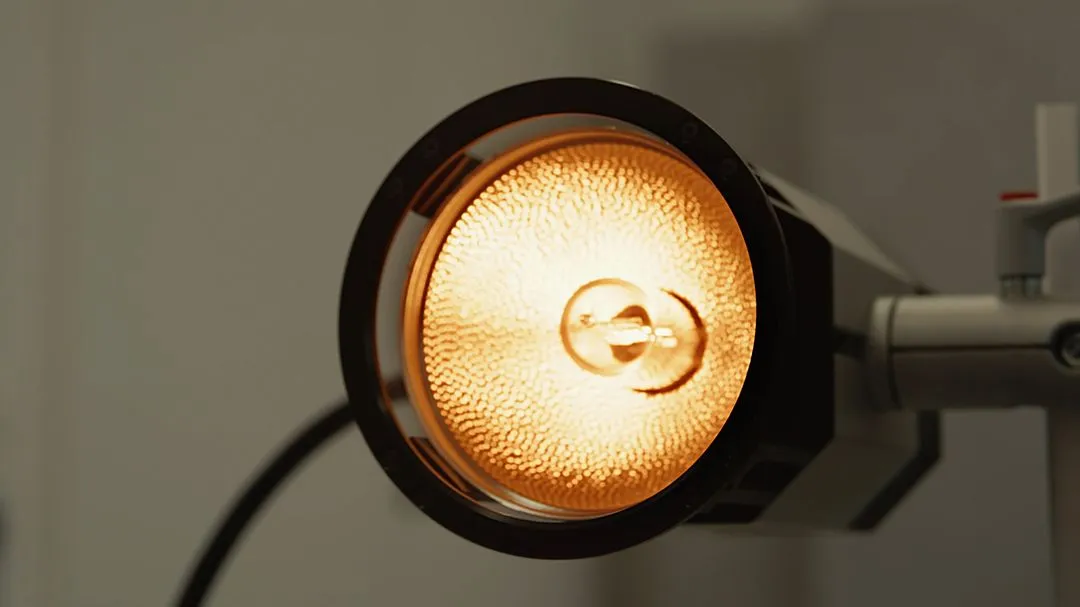
- Flash lamp(s)
- Software module for device control
Additionally required:
- IR camera with MWIR or LWIR detector
- ESG signal generator
- edevis DisplayImg software
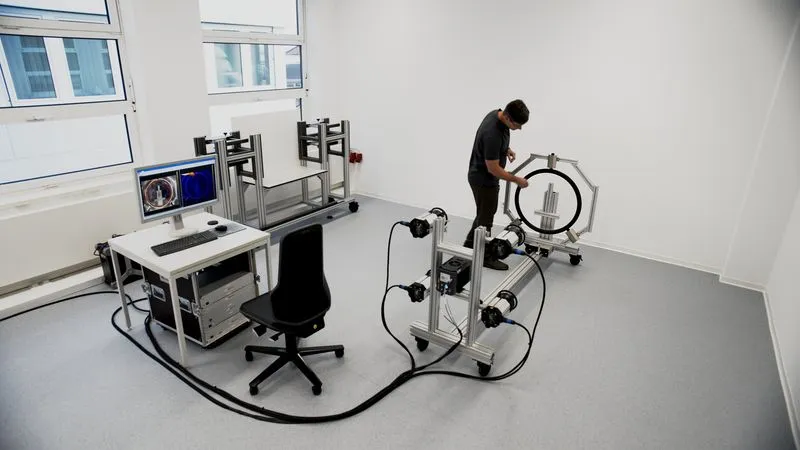
- Test bench/handling system (optional, for automated tests)
The system can be used for both laboratory tests and automated inline setups.

Evaluation software:
DisplayImg Professional
- Control of laser unit & camera
- Phase image analysis & Fourier evaluation
- Project management, API integration
- Compatible with all edevis excitation types
DisplayImg Automation
- Flexible modular system
- Active & passive thermography
- Automated data acquisition
- OPC connection & SQL export
- Barcode/DMC scanner
FAQ
Our frequently asked questions — answered quickly and easily.
Can PTvis be used automatically in production lines?
Yes – PTvis is fully automatable. It can be integrated, for example, into painting lines, coating systems or test cells. Triggering, image acquisition, evaluation and result transfer take place automatically, documented and reproducibly – perfect for series testing or 100% inspections.
mehr erfahrenHow does PTvis differ from OTvis or other edevis systems?
PTvis uses individual short thermal impulses for rapid inspection – ideal for surface and layer analyses. OTvis, on the other hand, is based on continuously modulated light and provides depth-sensitive phase images. UTvis (ultrasound), LTvis (laser) and ITvis (induction) each use other excitation methods for special inspection tasks. The systems can also be combined as required.
mehr erfahrenWhat advantages does PTvis offer compared to other methods?
Pulse thermography with PTvis is extremely fast and provides meaningful results within seconds. Phase evaluation ensures a robust, disturbance-insensitive analysis – even on uneven surfaces. Material properties such as layer thickness or thermal conductivity can also be quantitatively determined.
mehr erfahrenWhat is pulse thermography – and how does it work with PTvis?
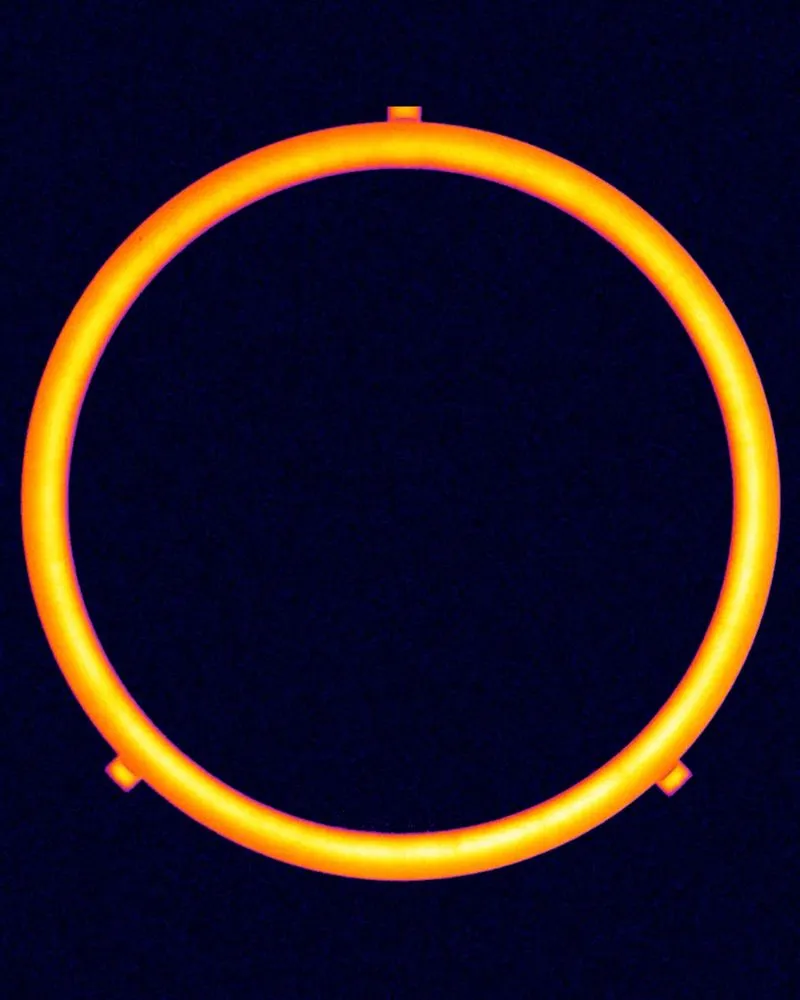
PTvis is based on pulse thermography: A high-power flash lamp heats the surface of the test specimen within a few milliseconds. The heat spreads into the material – defects, layer differences or inclusions influence the cooling behaviour. An IR camera records these changes and the DisplayImg software calculates phase and amplitude images from them.
mehr erfahrenWhat typical applications are there for PTvis?
PTvis is excellent for testing thin layers such as paints, coatings or composite layers. Porosity, corrosion under coatings or delaminations in CFRP/GFRP components can also be reliably detected – ideal for aviation, automotive, wood processing and research.
mehr erfahren


