Electronic components are often encapsulated in high-temperature-resistant electrical potting compounds to protect them from wear and tear and extend their service life. However, defects in the potting compound can lead to premature failure of components, such as stators of electric motors. Random testing using laser scanning thermography provides the best insight to avoid failures at this point.
The application:
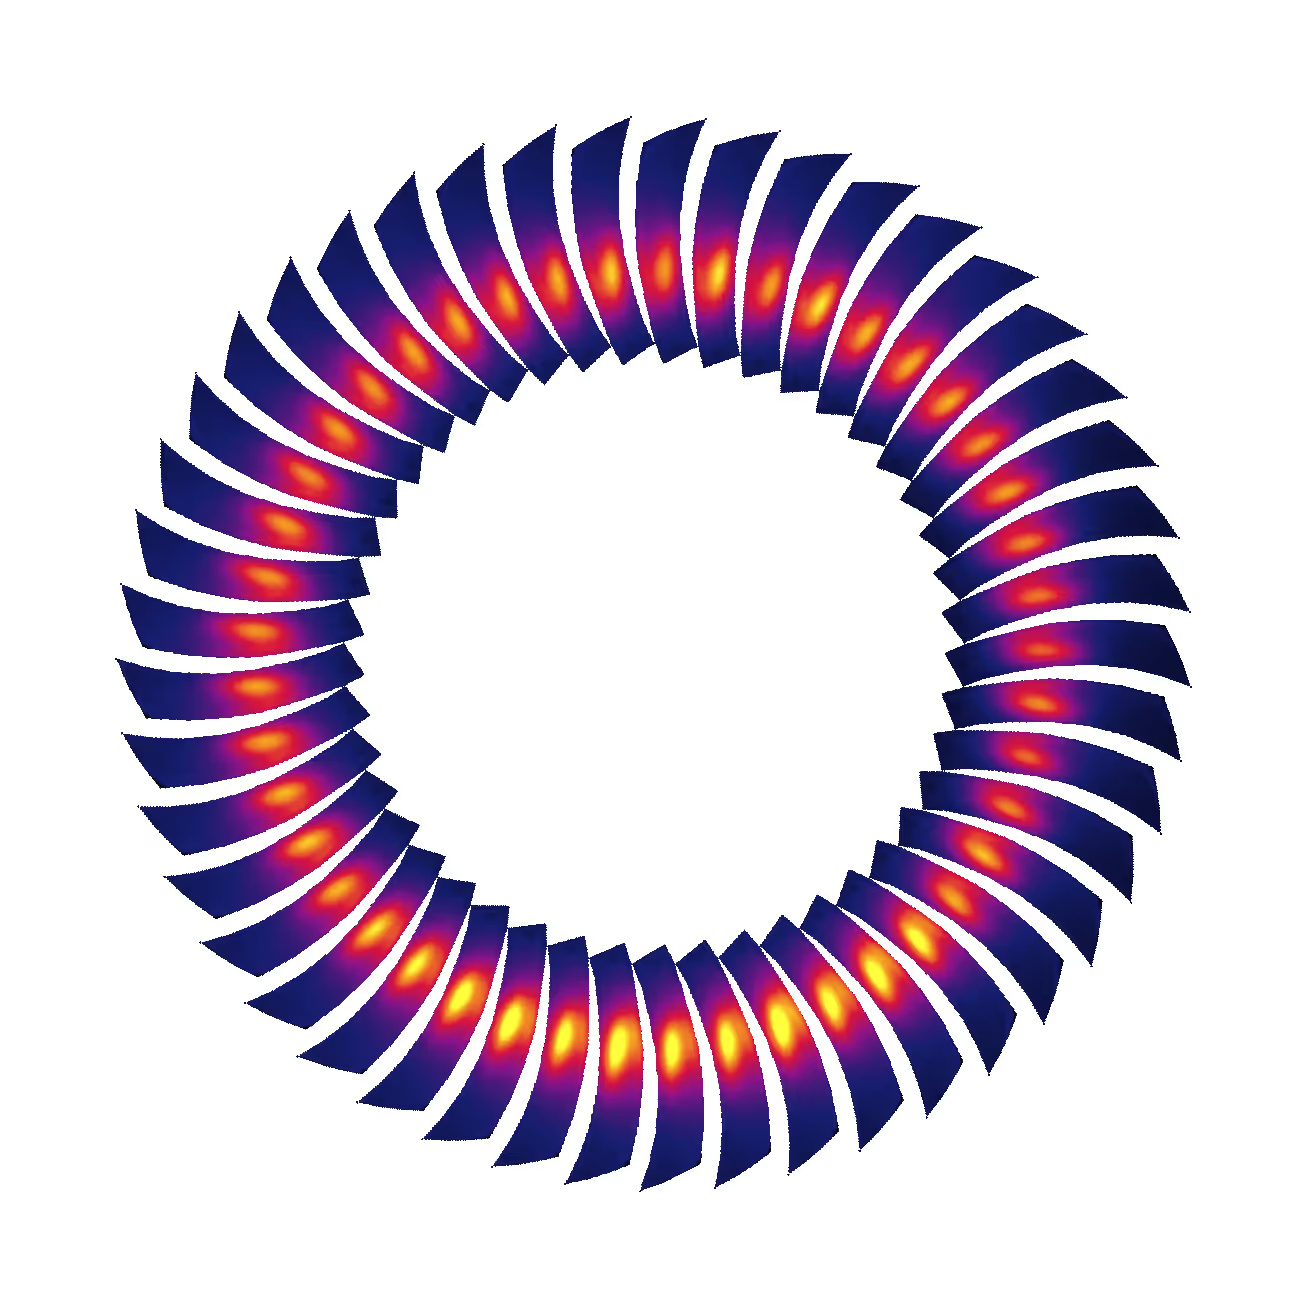
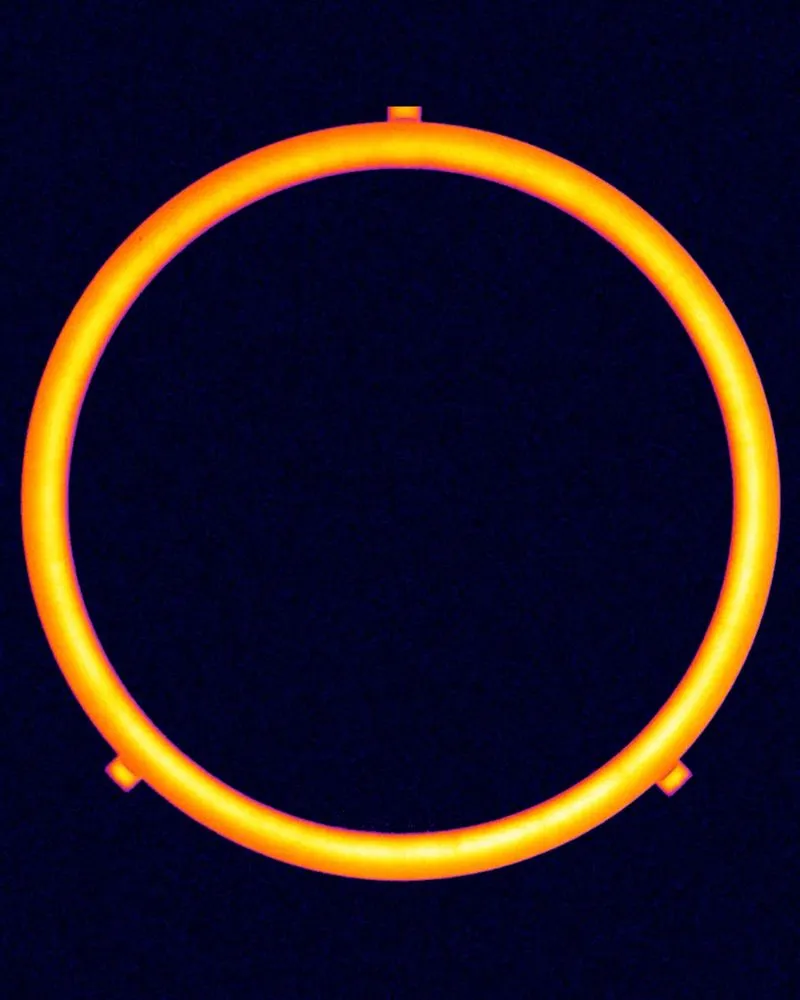
Electric motor stators represent a good example of the power of thermography inspection in electronic components. The contacts between the coil packs and the busbars in the stator are encapsulated with epoxy resin with the aim of reliably protecting them. During the production process, it is important to avoid bubbles and cracks in the potting compound as well as adhesion problems between the potting compound and the plastic trough. For the first time, random testing using laser scanning thermography allows non-destructive full inspection of components and thus a disproportionately higher detection rate – quickly and semi-automatically.
The savings and improvement (for the customer):
In the past, stators were inspected materialographically several times a day, i.e. sawed, ground and visually inspected at predefined points. However, this form of sampling was extremely costly and unreliable at the same time, since it is never possible to know in advance in which areas bubbles or cracks will appear. Making the right cut here was like playing the lottery. The customer no longer wanted to rely on “lucky hits” or search for the “needle in a haystack”. With thermography, it is possible to examine components not only sector by sector, but completely non-destructively. This increases the quality rate, while at the same time reducing inspection efforts and costs.
The task and solution:
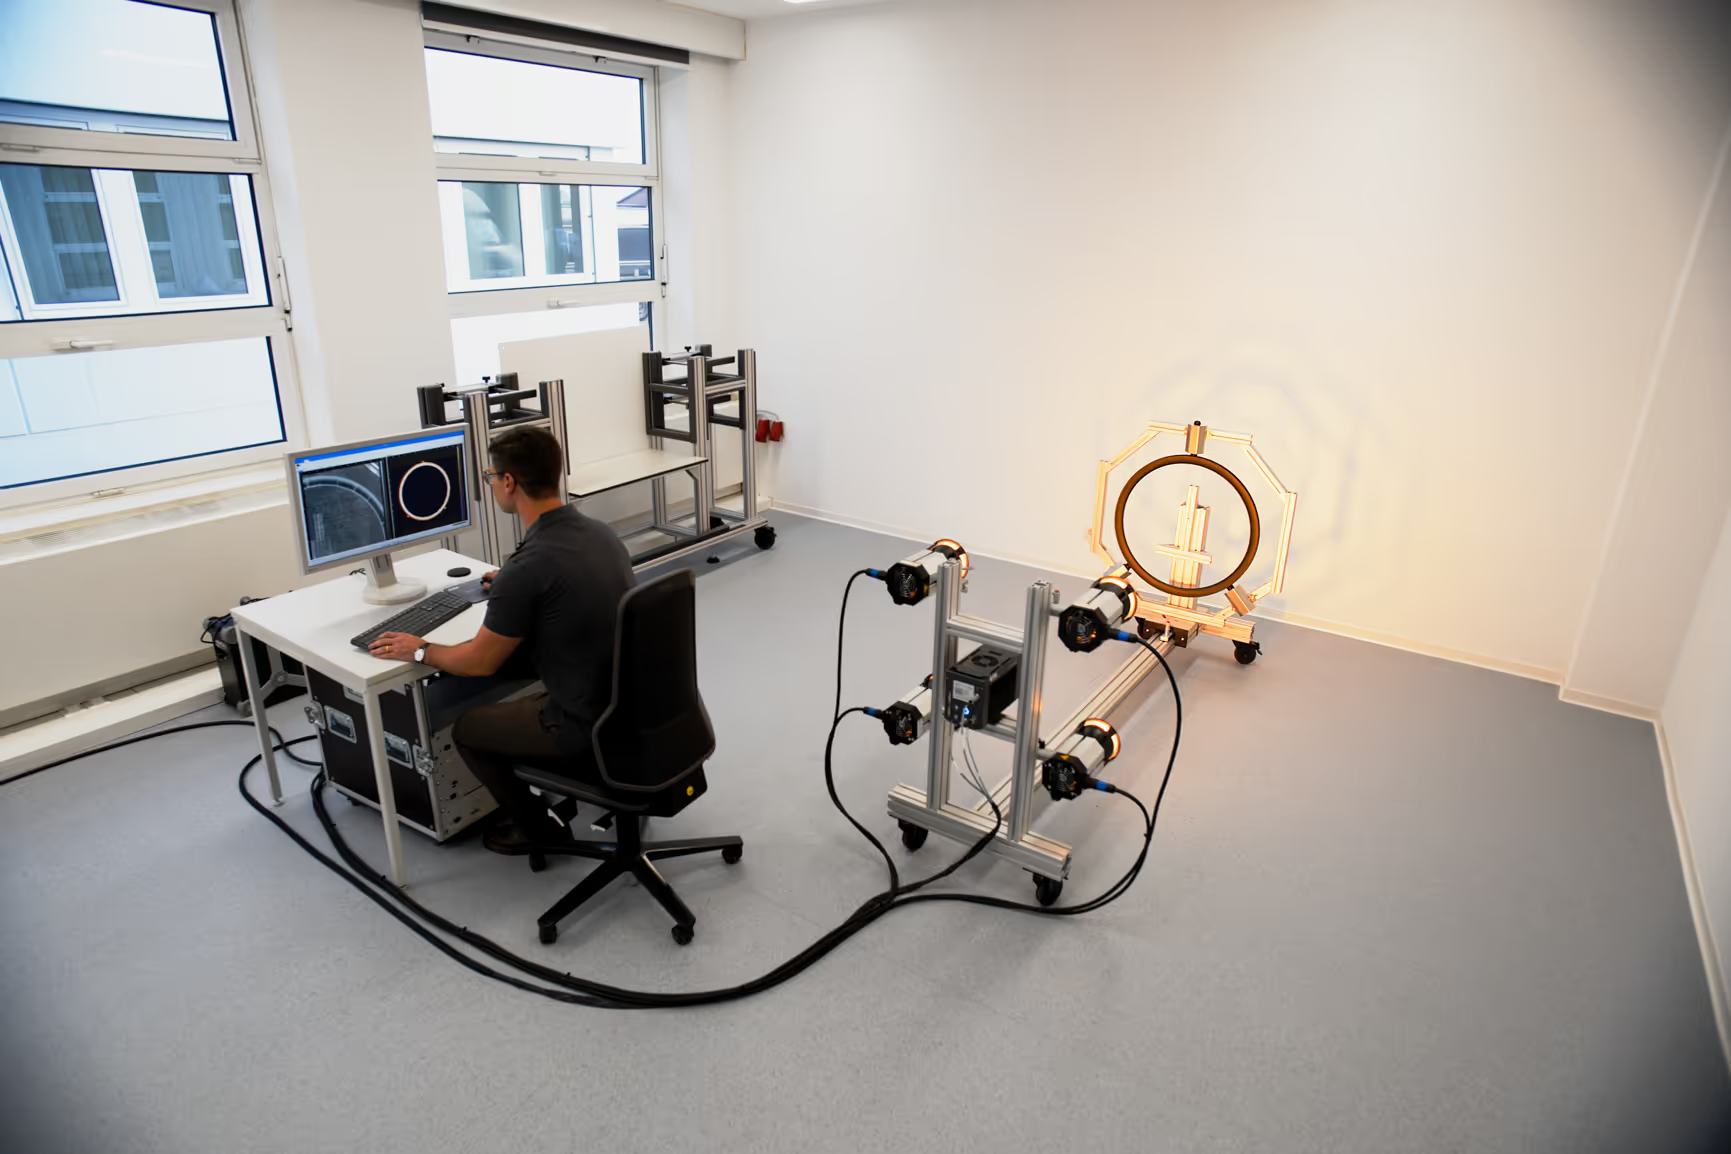
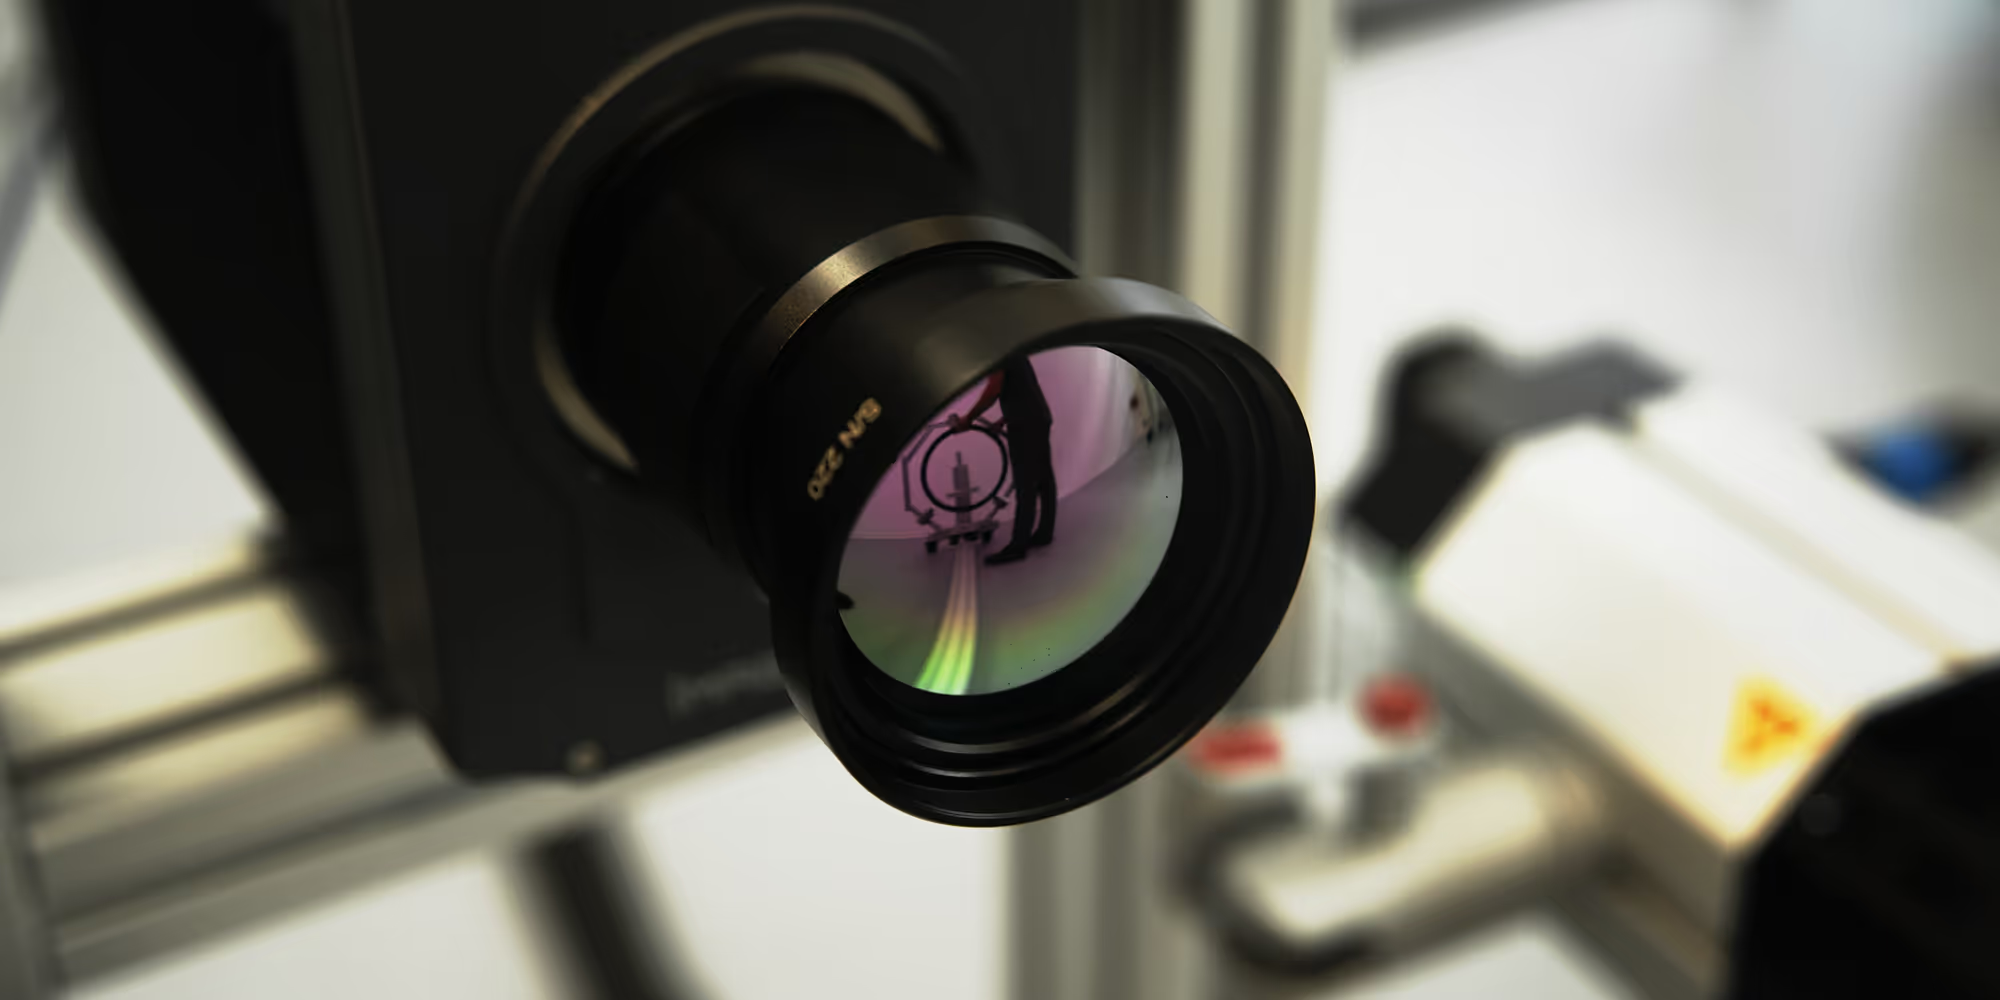
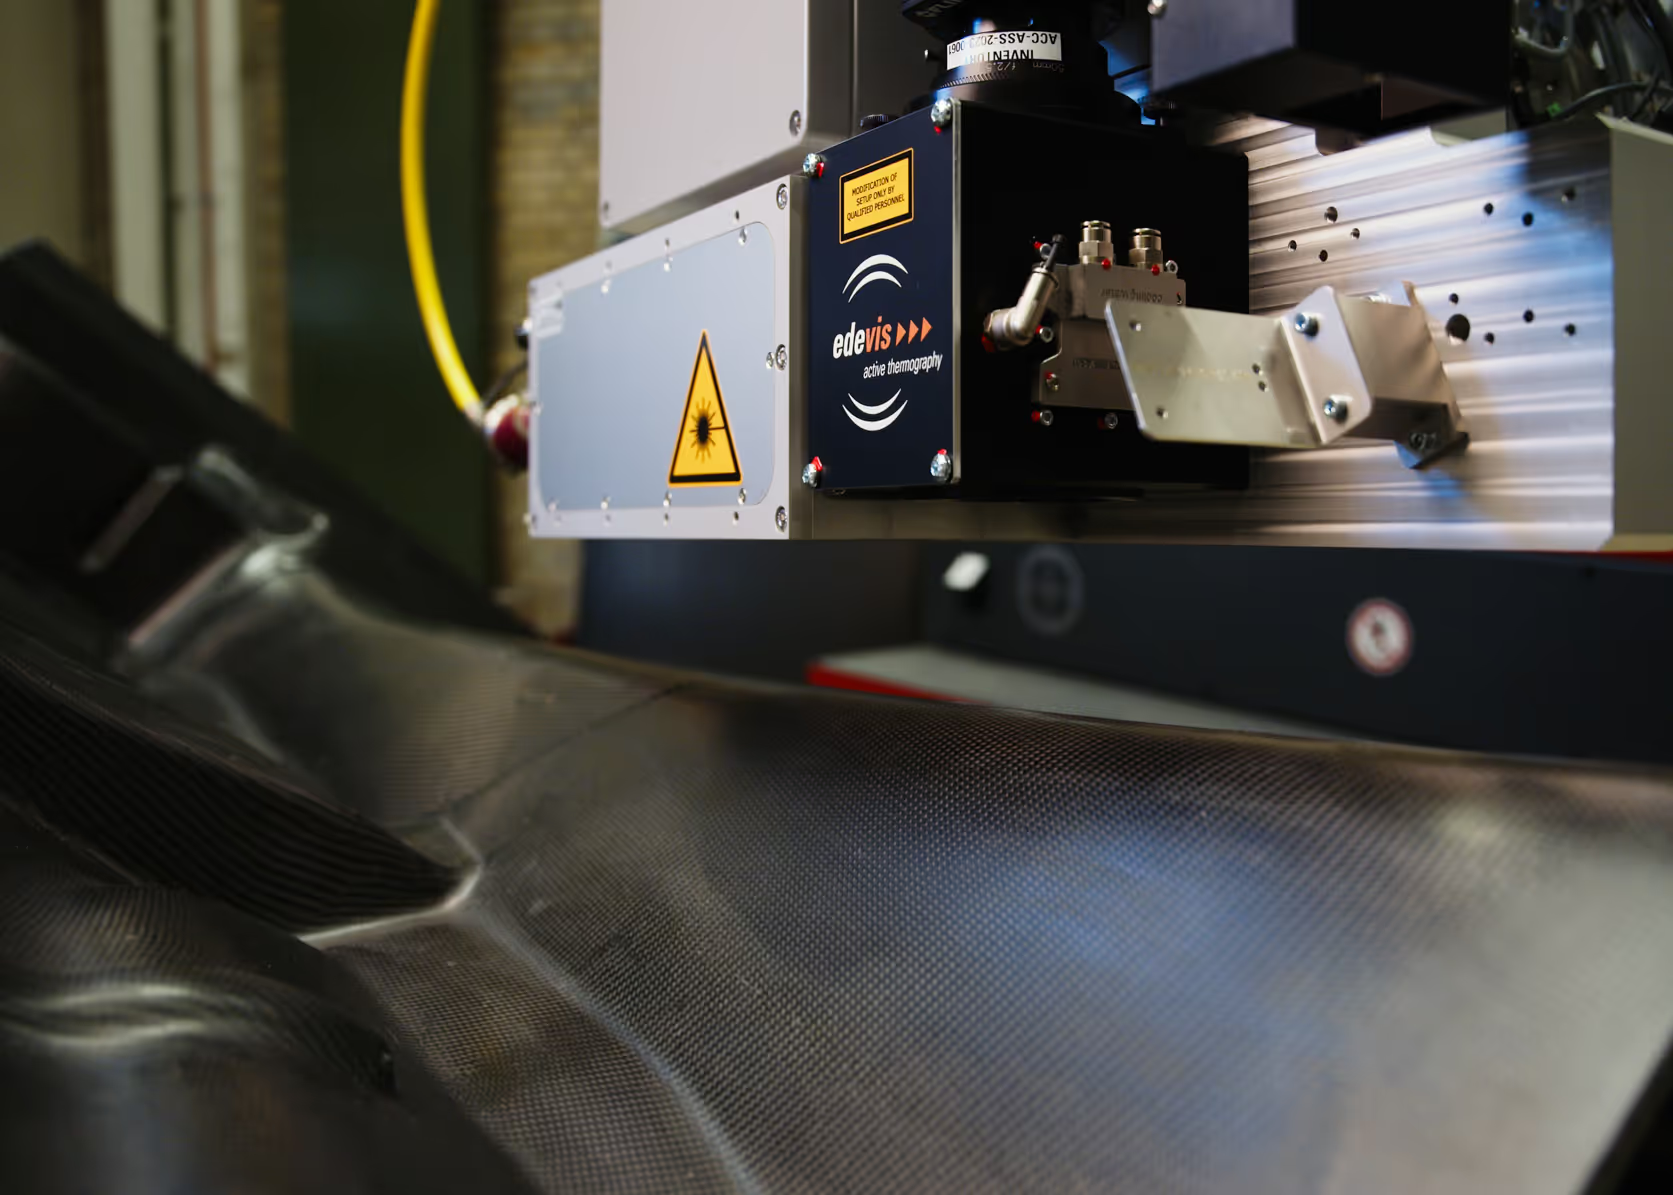
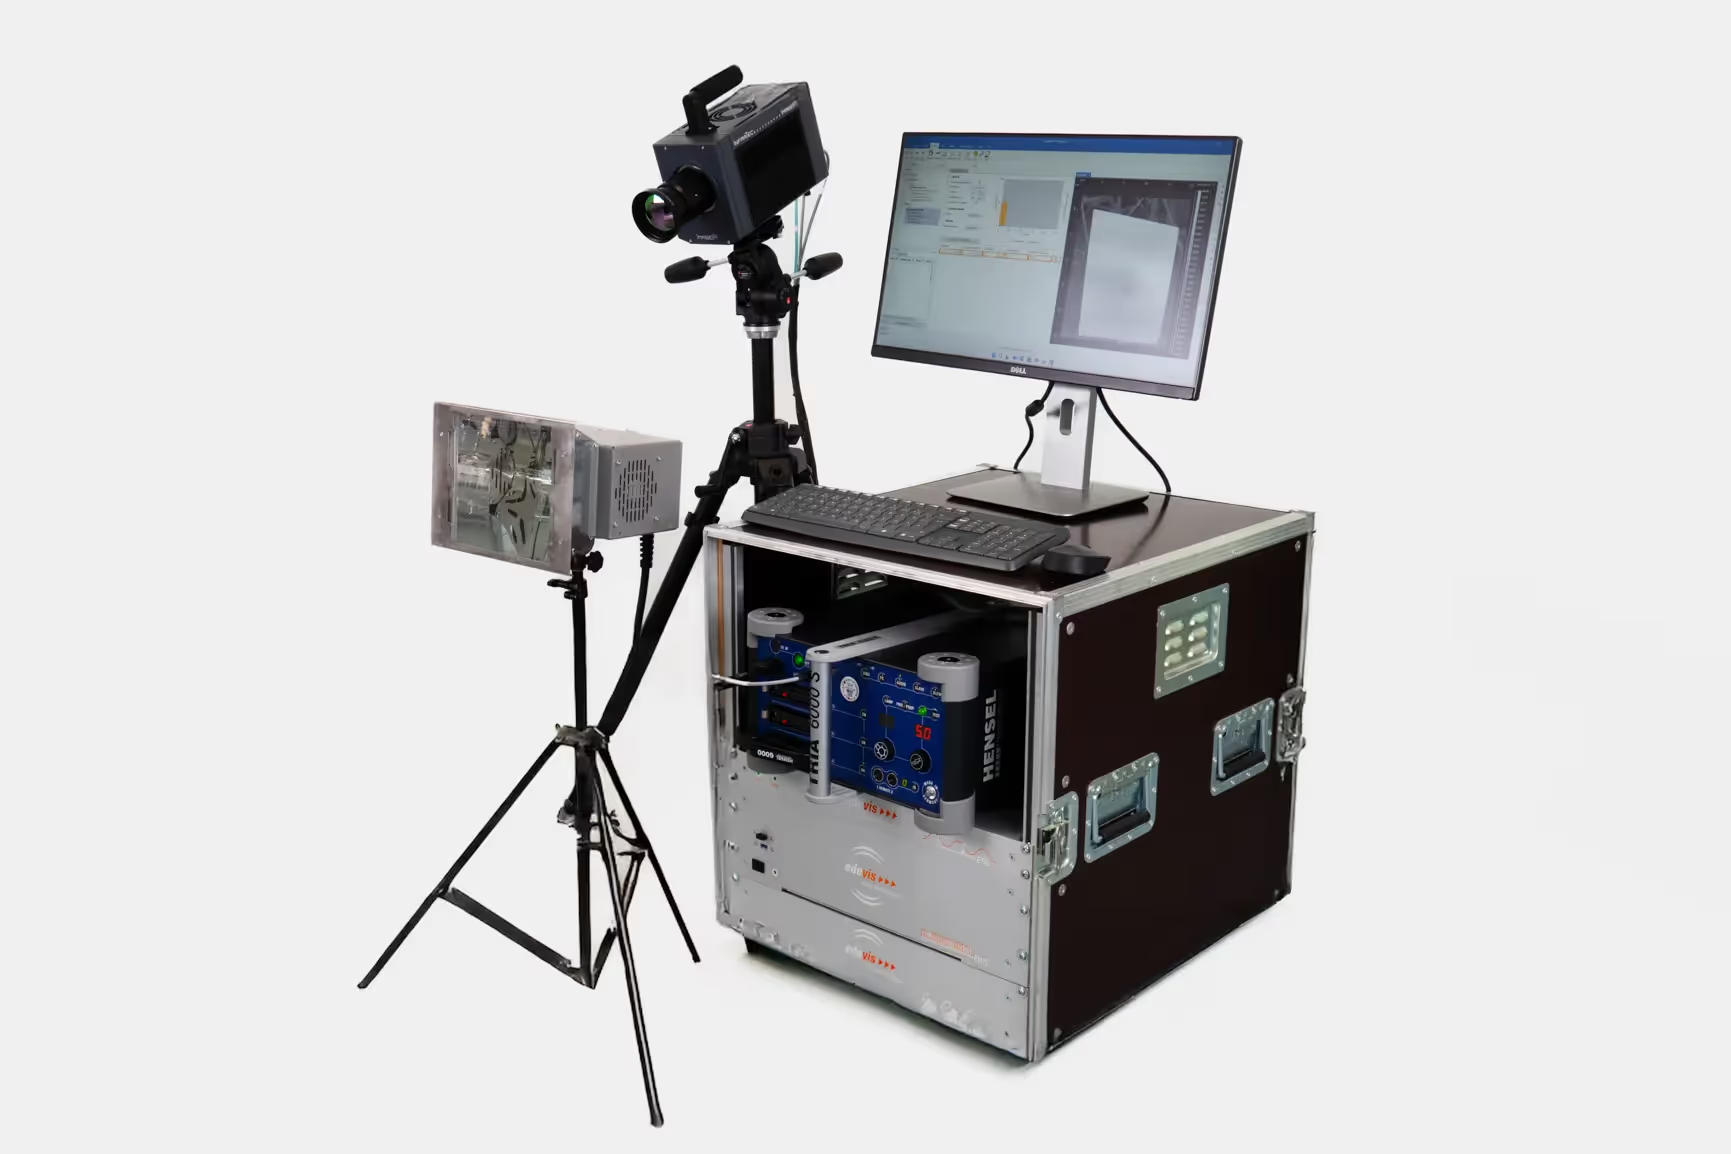
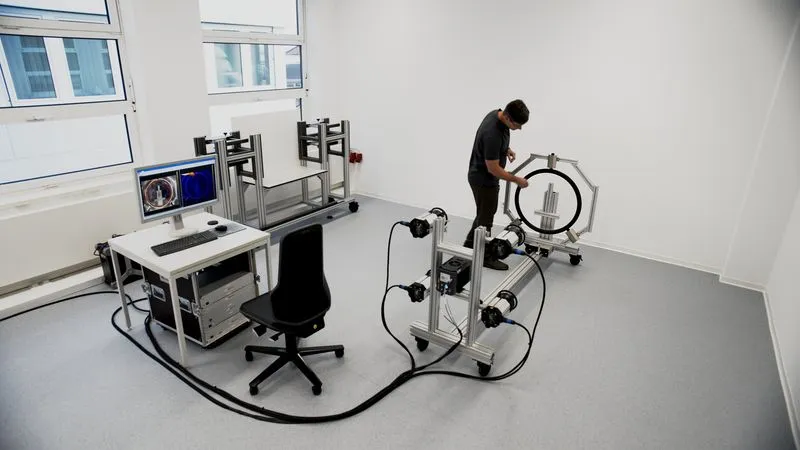
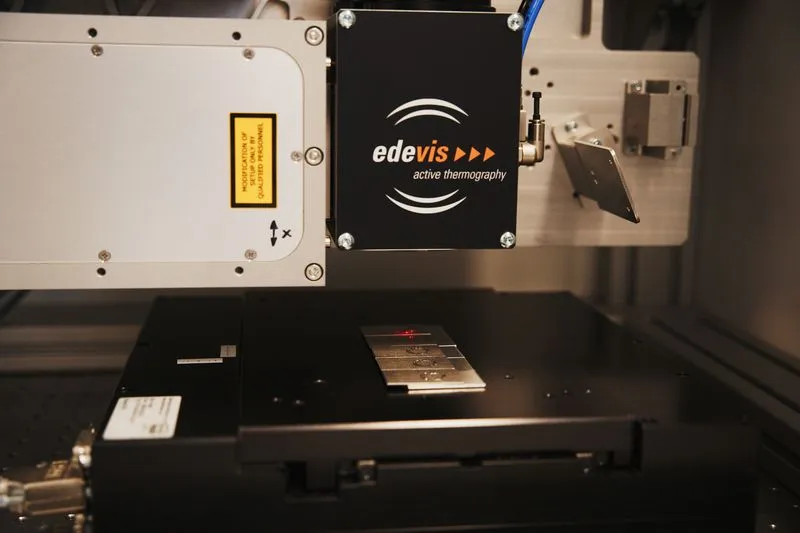
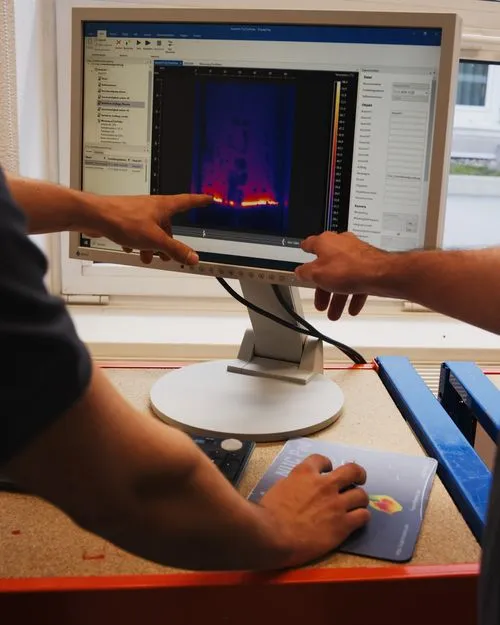
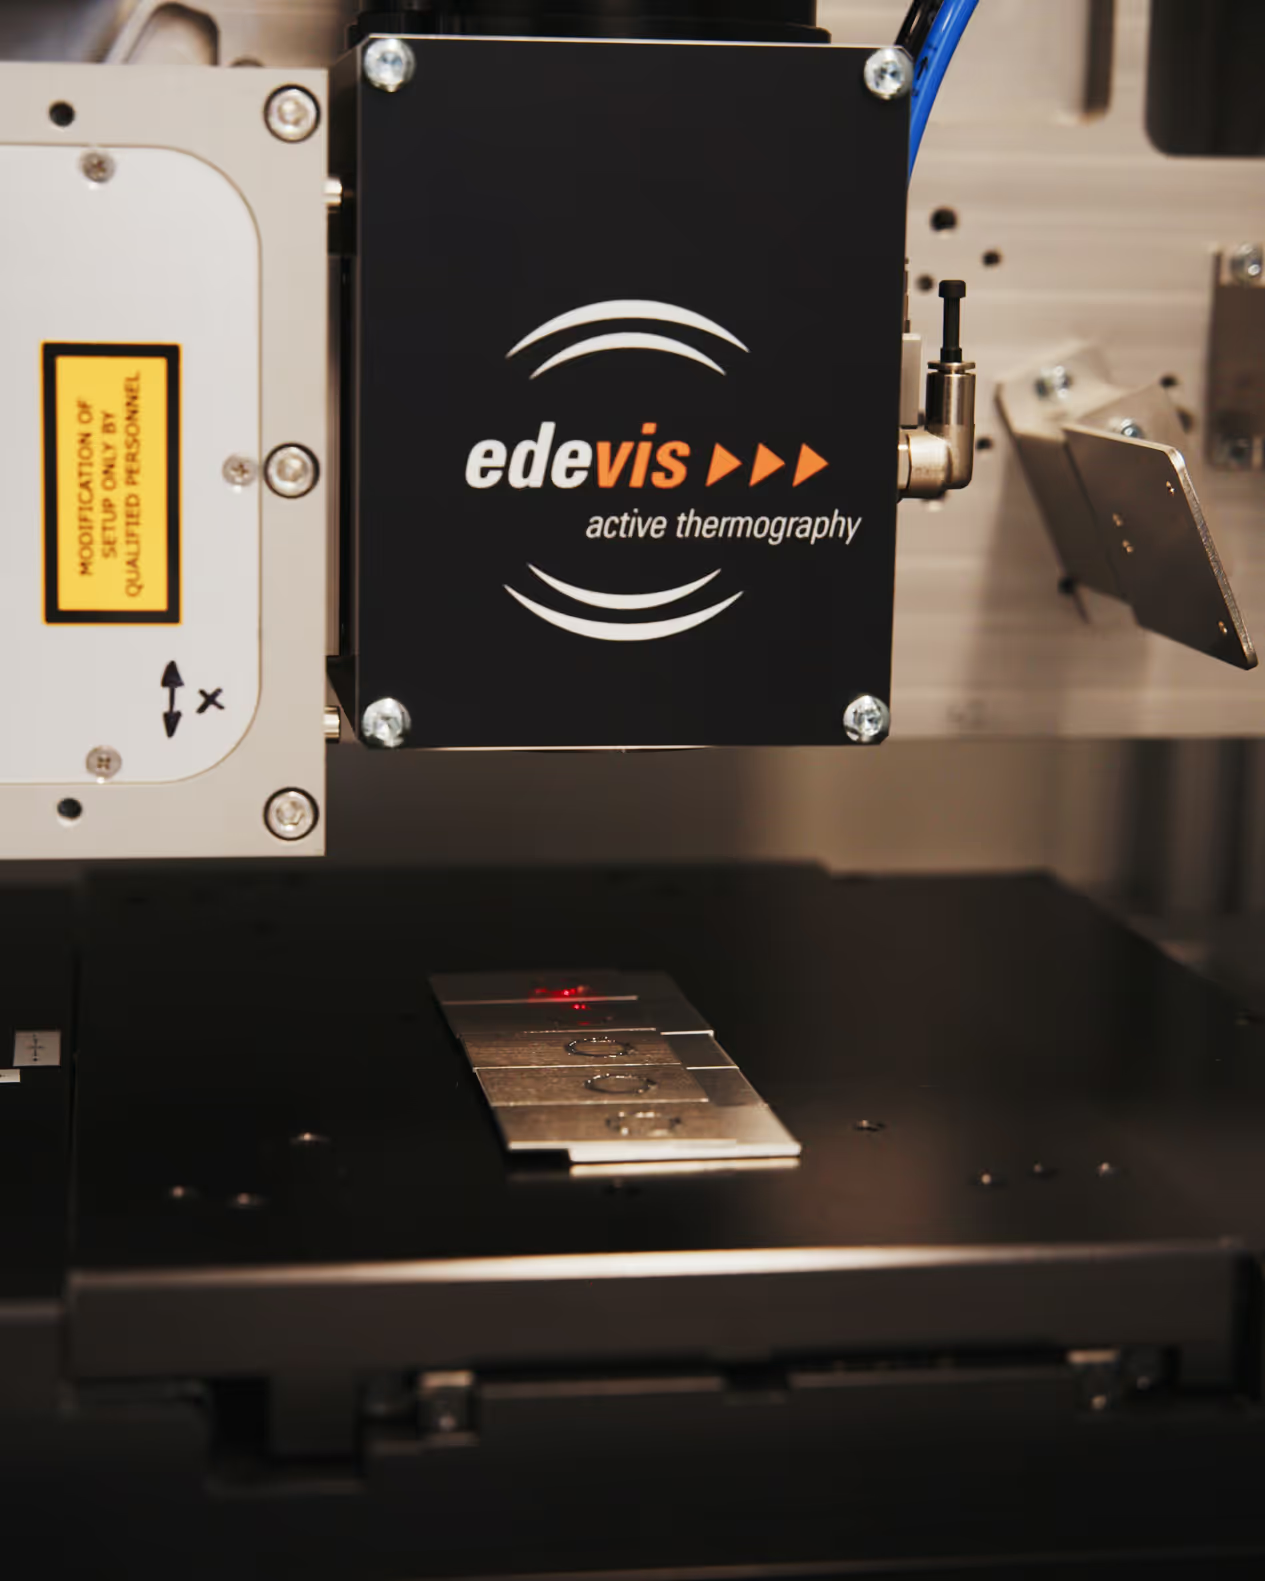
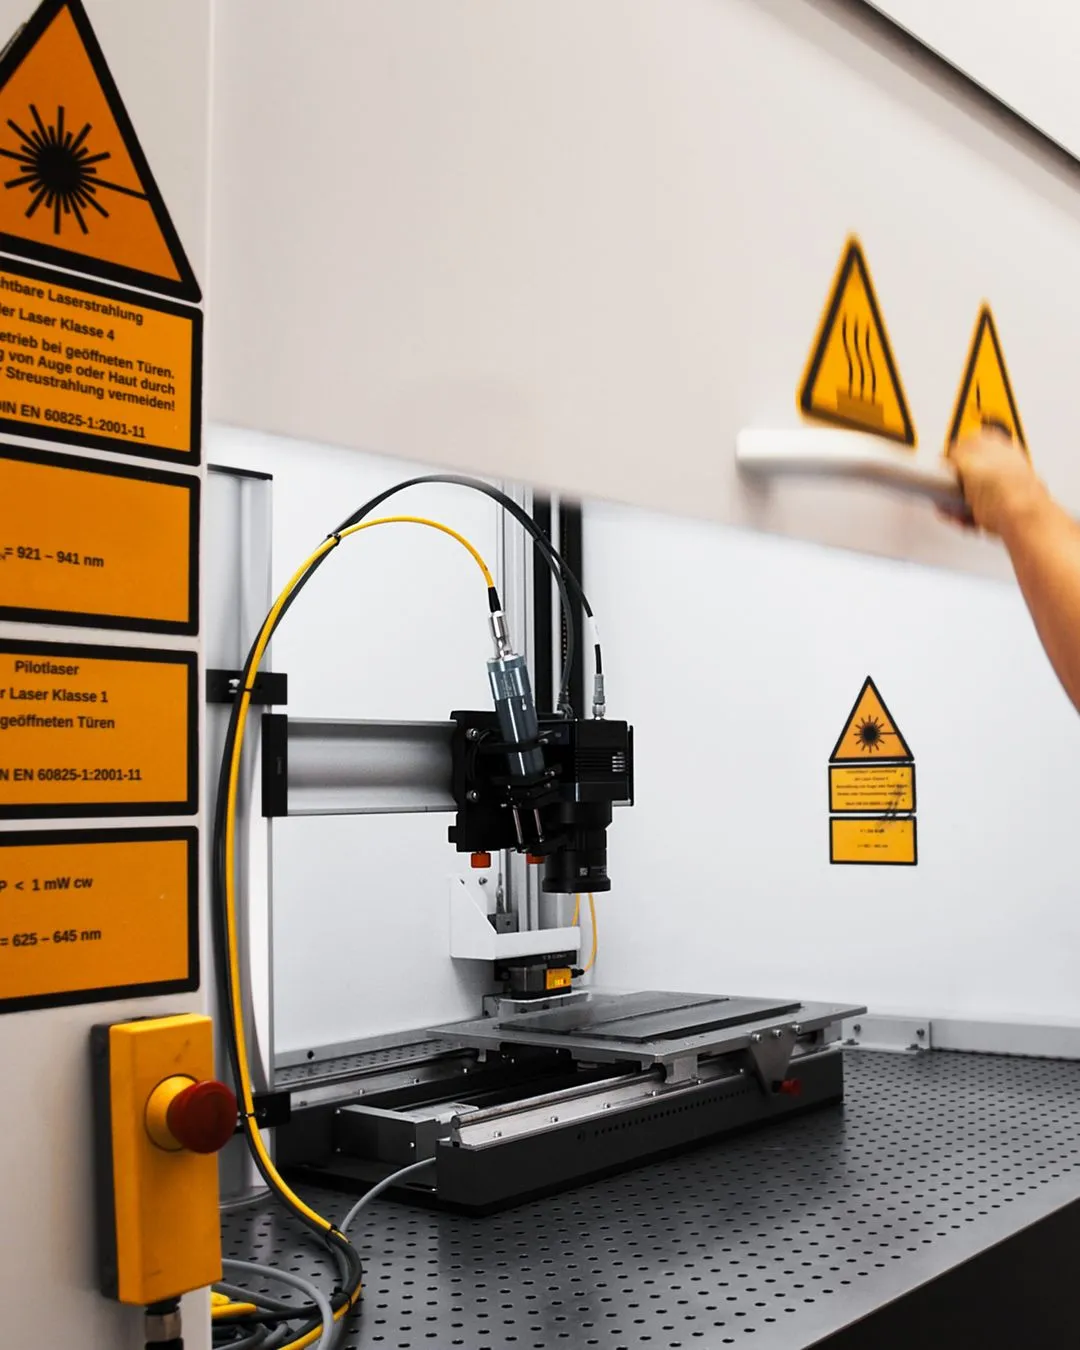
In a test stand, components were to be heated in a defined manner by means of laser light and examined completely with an infrared camera. For this purpose, a rotary table was used, which allows the electrical component to rotate slowly under the camera. The introduced heat spreads in all three spatial directions. Bubbles, cracks and detachments stop the heat flow, so that the heat accumulates there and the defects are thus clearly detected. In the test rig developed here, around 10 minutes elapse before the component is fully tested and released, the rotational speed being dictated by the slow thermal conduction of the epoxy resin. However, other test cycles are also possible.
The challenge:
The first challenge in this application was in the detail, or rather in the interpretation of the tolerances. The potting compound is not required to be completely free of bubbles or cracks. Instead, defects at critical points must be balanced against non-critical ones. In the vicinity of a contact, complete coverage is required, while small bubbles further away are much less critical and can be tolerated.
The second challenge was the properties of the various potting compounds or their processing: After all, various electric motors are manufactured in production, such as external rotors or internal rotors. Accordingly, different potting compounds are used, and the processing of the potting compounds also has an influence: Some processing machines produce a potting with strongly pronounced streaks, while others produce only moderately pronounced streaks. This is not just a pure surface effect, but a volume effect. The inspector can take these local diffusivity deviations into account by comparing the thermographic representation of the surface with the representation of the defects at different points in time during the heating or cooling process and evaluating the component accordingly. Here, the software provides all the necessary tools for evaluation and assessment, as well as the flexibility required for the customer to independently teach-in new component types.
The project planning:
At the beginning, there was the feasibility study based on test parts provided by the customer on a test basis. On this basis, edevis prepared the desired quotation. In this case, edevis developed the entire inspection unit as a complete system and delivered it including turntable, inspection software and laser cabin. The inspection system is now in series production in the grinding room of the manufacturer. The reference customer was so satisfied with the implementation of the potting compound inspection that he has since ordered another system for a subsidiary abroad.