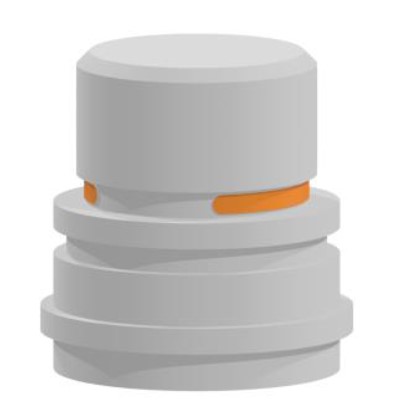
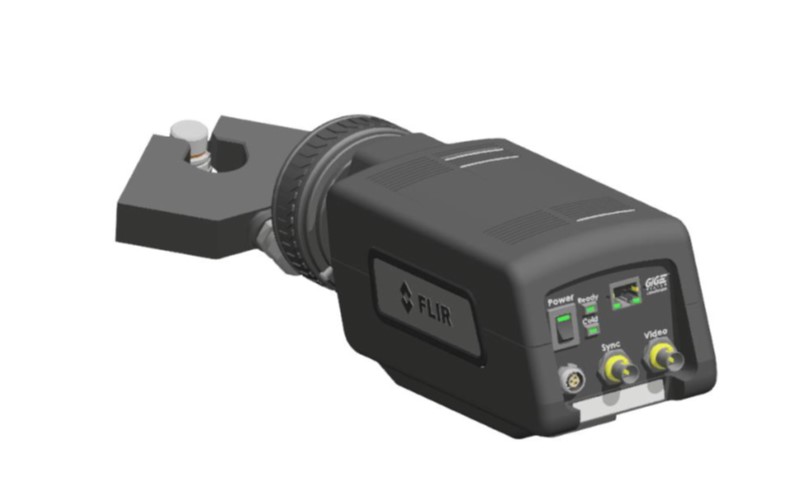
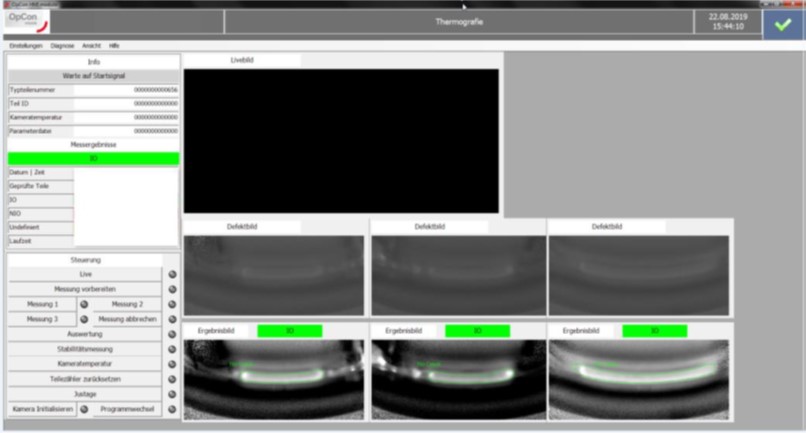
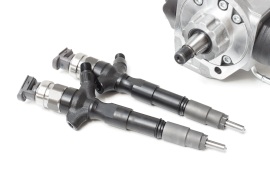
Automated weld seam inspection with thermographic inspection methods is also possible for small and complex parts. In the case of a high-pressure injection nozzle for a diesel engine, two individual parts are joined together with three laser beam welds. In the event of a defect, the weld seams may show cracks. Defects and leaks would be the consequences. An inline crack detection system based on induction thermography was developed with the manufacturer.
The application:
The customer is a German automotive supplier with great expertise in the field of injection components. The component is part of a solenoid valve injector or injection valve, which is exposed to an injection pressure of up to 2,700 bar. However, the application is also suitable for many other laser beam weld seam tests on complex or miniaturized components.
The task:
The task was to develop a non-destructive testing method for inline testing using induction thermography and the corresponding testing software. The evaluation was to be automated by image processing. In a cycle time of just under 5 seconds, 3 laser beam weld seams were to be reliably inspected for cracks, holes, pores or through-weld defects. To visualize all weld seams, the component had to be repositioned twice.
The savings (for the customer):
The previous inspection process consisted of visual crack inspection under a microscope: not fast, very expensive, and error-prone because, unlike thermographic inspection, it depended on human factors. This process could now be replaced by a fully automated 100% inline inspection – with rapid payback and completely non-destructive.
The challenge:
For the small components with a height of 30 mm and a width of 15 mm, the weld seams are less than 10 mm short and the cracks microscopic. In addition, the laser beam weld of the two components is made in a groove 3 to 4 mm deep. All of this places increased demands on the performance of the hardware and application. The special challenge is to concentrate the induction field exactly on the area of the groove where the test part is welded without losing the energy at the edges. edevis uses a patented method that is able to test even such hard-to-reach weld seams.

In addition, the relatively inhomogeneous surfaces of laser welds place high demands on non-destructive testing technology. The camera optics and image processing of the inspection must enable reliable differentiation between normal irregularities and defects such as cracks or pores. Even more so when parts have no weld at all due to defects.

The Machine Learning:
If necessary, as in this case, edevis puts a precursor to Artificial Intelligence behind the application with sophisticated “Machine Learning”. Here, the effects and inhomogeneities of the weld seam that occur here were taught in order to reduce the interference effects for the software’s image processing and thus make the inspection more robust.

The project planning:
It started with the customer sending components with the specification of finding known defects. This is the usual procedure in this case. The customer sends defect parts and edevis proves that these can be detected with the appropriate thermographic methods. On this basis, an inspection idea was developed and the feasibility validated with a study. After that, it came to the offer phase. edevis accompanied the project from the application development and in the later course in an advisory capacity beyond the acceptance of the inspection system. The test system was realized by the customer using edevis components. The highlight was to successfully achieve a high sensitivity even for very small cracks in the application.
